
Sorry I've not finished the blog but I've been tied up with another Mig build for a friend and flat out with job hunting.
Anyway, where were we.....Ah yes, the tail assembly.
So the completed tail is fitted into the slot at the rear of the fuselage and glued in place ensuring it is at 90 degrees.
I installed a plastic snake running through the formers from the rear of the fuselage to under the wing seat area where I will fit a standard size servo. Alternatively a smaller servo can be fitted to the rear of the fuselage under the tail assembly with a short push rod operating the elervator ( no working rudder on this model )
Wing continued
Ailerons are operated by a small servo fitted in each wing.
A small section on the upper wing surface is cut and 'hinged' to allow the servo to be glued, again with hot glue, to the base of the wing.


These photos are again from an Impala, but the procedure is the same for all my builds.
Short push rods are used to operate the ailerons which as you can see are, again made from 4mm correx and will be hinged with cross weave tape.
A narrow piece of correx is glued to the top and bottom of the wing on the join to give a bit of extra support.The slot at the l/e and t/e of the wing is so the wing will sit against a couple of formers in the fuselage (dimensions found on the plans)
The wing is now complete and ready for trial fitting to the fuz.
The wing seat is cut as per the dimensions on the plan but may need so fine timing to insure the tail assembly and wing are parallel.
The wing is secured to the fuselage with elastic bands with are secured to a couple of wooden dowels, which run through the fuz, one in front and one behind the wing.
Again an Impala photo showing wing seat and forward dowel ( no matter how many photos I take during a build I always seem to miss a couple of important details )
So the basic fuselage and wing is pretty much complete now and ready for some colour.
I chose the camouflage colours of the 109 - e used during the invasion of Poland in 1939.
My chosen paint was brushed on enamel.

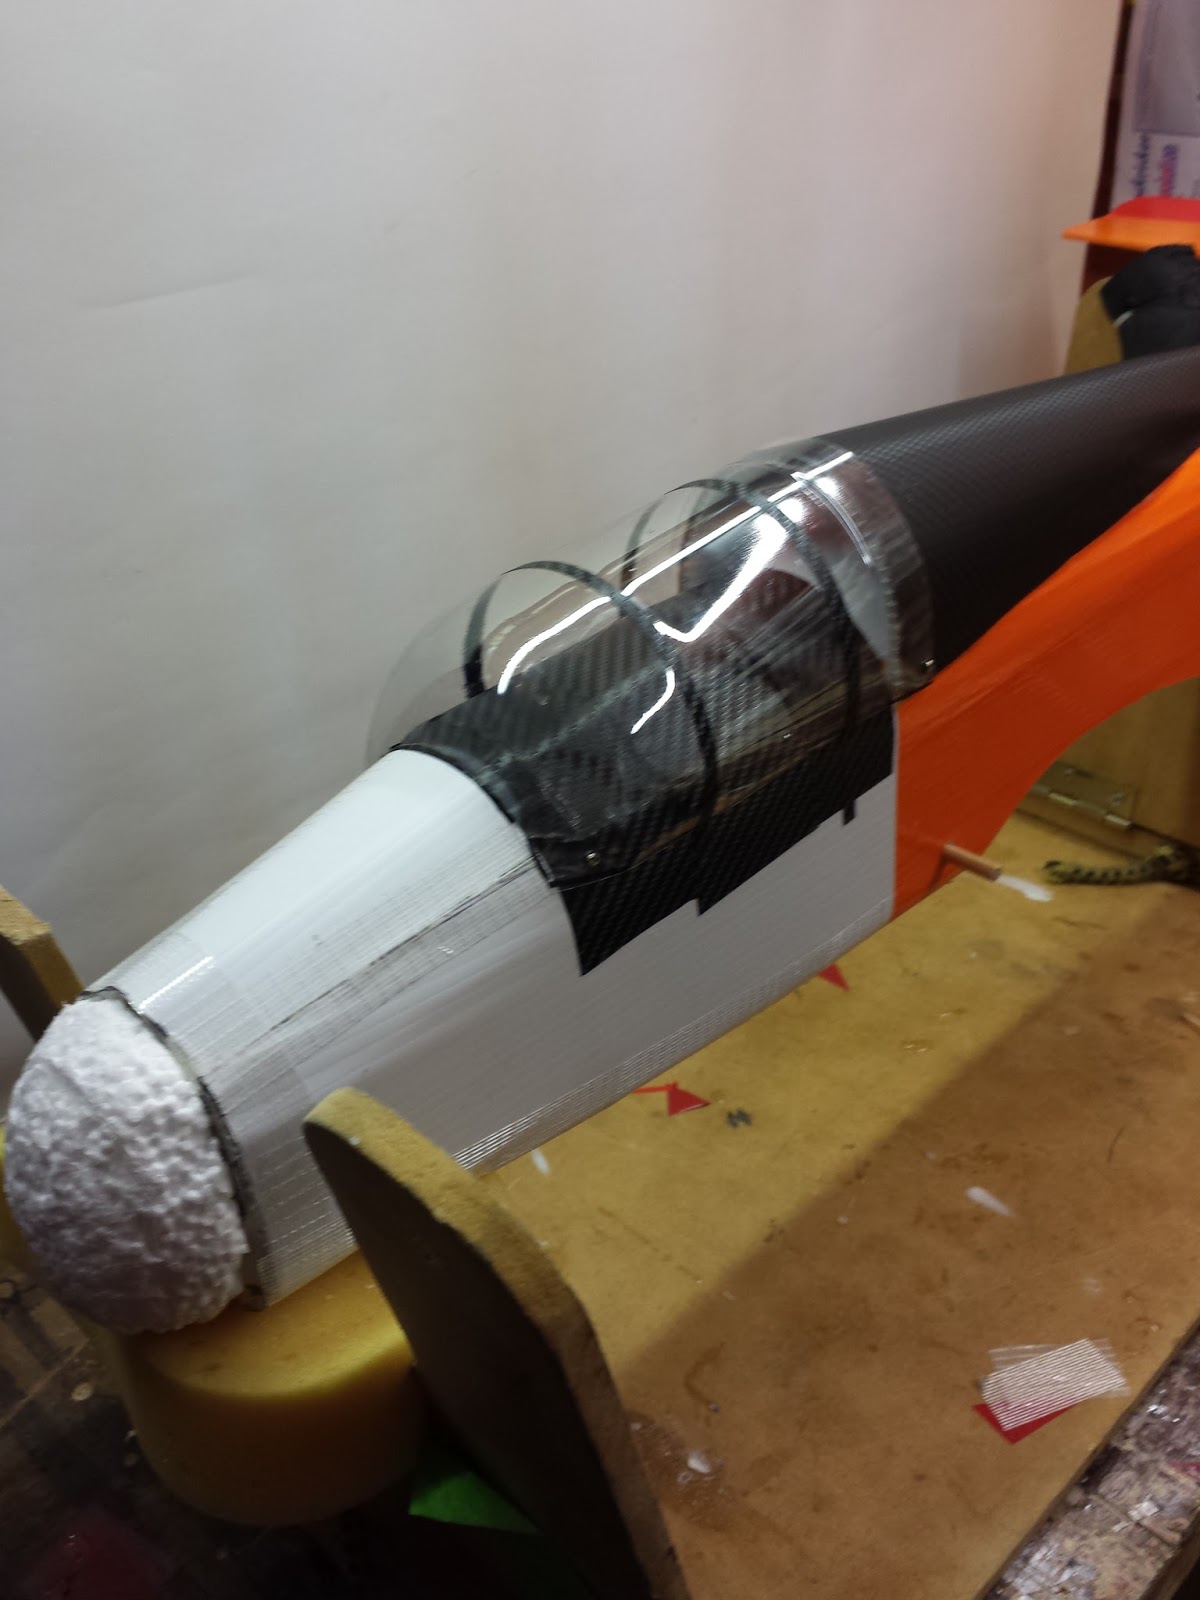
Canopy was sourced on line and decals ( keeping to my budget build ) I made using fablon and permanent marker.
That's all I have time for now guys, I'll try and get back latter if able to.
Thanks for following the build....
Phil
No comments:
Post a Comment